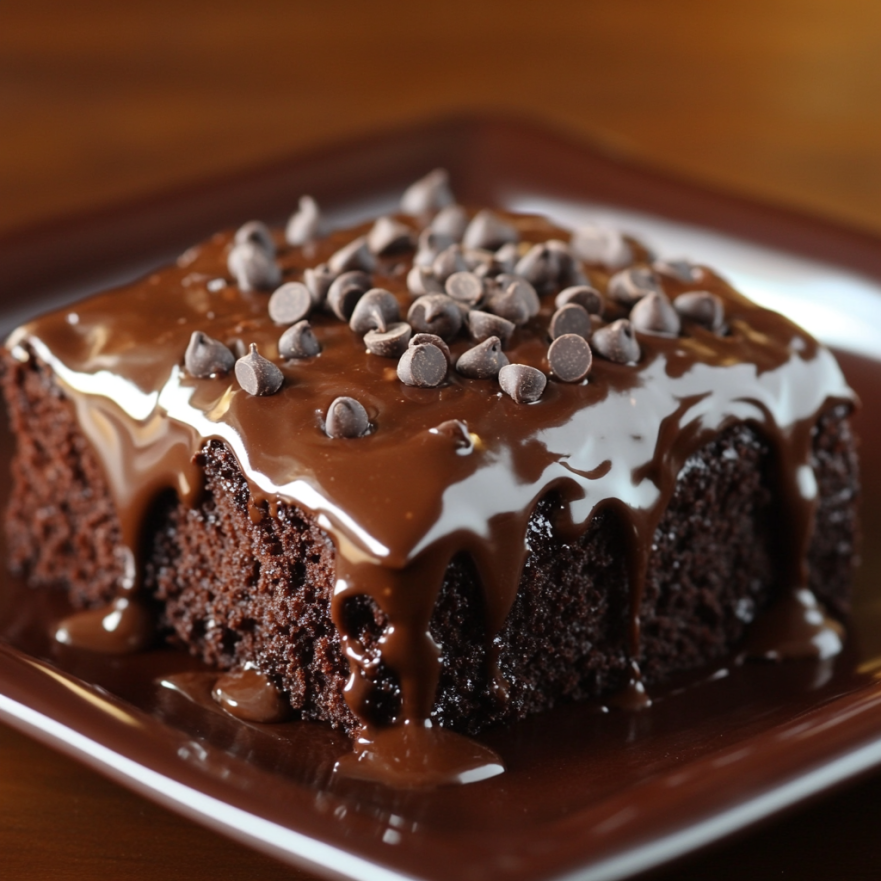
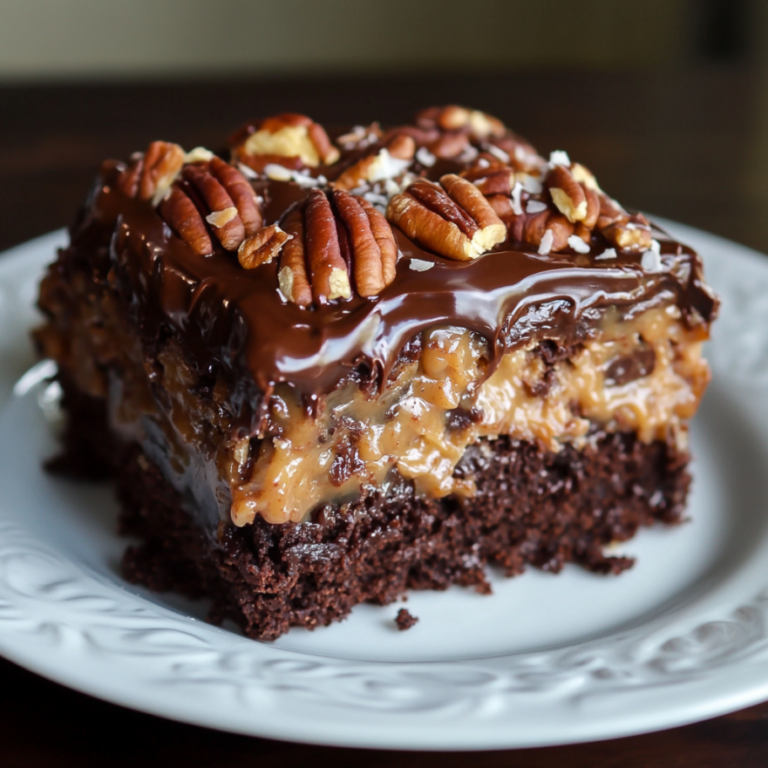
Decadent Chocolate Poke Cake Recipe
Looking for a dessert that’s both simple and indulgent? The chocolate poke cake is your go-to. It turns a basic cake into a rich chocolate delight that wows everyone with little work.
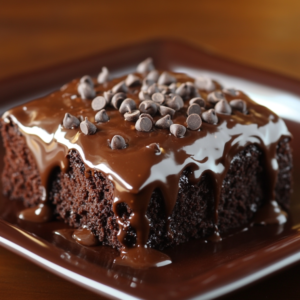
This recipe is perfect for anyone who loves baking. It brings the taste of a fancy restaurant to your home. The cake is moist and filled with creamy goodness, making each bite a chocolate dream.
Need a dessert for a family event or just a chocolate fix? This cake recipe is your answer. It’s easy to make and looks fancy, but it’s surprisingly simple.
The Ultimate Guide to Chocolate Poke Cake
Explore the world of chocolate poke cakes, a favorite among bakers in the United States. These moist cakes are special, mixing rich chocolate with a unique serving method.
The poke cake’s story starts in the mid-20th century. Home bakers wanted to make cakes better. They found that adding holes and fillings made cakes moist and tasty.
Exploring the Roots of Poke Cakes
Poke cakes started as a clever idea. Bakers poked holes in cakes and filled them with yummy liquids. This made the cakes moist and flavorful.
- 1950s: First documented poke cake techniques
- 1960s: Widespread adoption in home kitchens
- 1970s: Commercial recipes begin to emerge
Why Chocolate Poke Cakes Stand Out
Chocolate poke cakes are special. They have holes filled with flavor, making each bite moist and rich. Unlike dry cakes, these stay decadent.
Essential Ingredients Overview
To make a great chocolate poke cake, you need a few key ingredients. They ensure the cake is moist and tastes amazing.
- High-quality cocoa powder
- Moist cake base (typically boxed or homemade)
- Liquid filling (pudding, condensed milk, or chocolate sauce)
- Whipped topping or frosting
The secret to an incredible poke cake lies in the balance of cake, filling, and topping.
Decadent Chocolate Poke Cake Recipe | Easy & Rich
Making a homemade chocolate cake that melts in your mouth is easier than you think. This pudding-filled cake recipe turns a simple dessert into a special treat. It will impress your family and friends.
The magic of this chocolate poke cake is in its unique way of making. After baking a rich chocolate cake, you poke holes all over it. These holes let in a luscious pudding filling. So, every bite is moist and full of flavor.
- Perfect for chocolate lovers
- Simple preparation techniques
- No advanced baking skills required
Here’s how to make your pudding-filled cake:
- Bake a tender chocolate cake base
- Poke holes all over the surface
- Pour silky chocolate pudding into the holes
- Top with dreamy whipped cream topping
The result is a decadent dessert that looks fancy but is easy to make. Your guests will never guess how simple this cake is to prepare!
Pro tip: Let the cake chill for at least 2 hours to allow the pudding to set perfectly.
Recipe card
Making a delicious chocolate poke cake needs the right tools and preparation. This recipe card will guide you through making a dessert that will wow your loved ones.
Essential Baking Tools
- 9×13 inch baking pan
- Large mixing bowl
- Electric mixer
- Wooden spoon
- Measuring cups and spoons
- Cooling rack
- Wooden skewer or chopstick
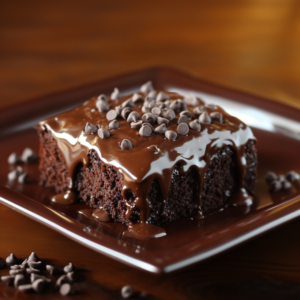
Chocolate Cake Ingredients
- 2 cups all-purpose flour
- 2 cups granulated sugar
- 3/4 cup unsweetened cocoa powder
- 2 large eggs
- 1 cup milk
- 1/2 cup vegetable oil
- 2 teaspoons vanilla extract
- 1 cup boiling water
Step-by-Step Instructions
- Preheat oven to 350°F and grease baking pan
- Mix dry chocolate cake ingredients in large bowl
- Add wet ingredients and blend until smooth
- Pour batter into prepared pan
- Bake for 30-35 minutes
- Allow cake to cool completely
- Poke holes using wooden skewer
- Pour chocolate sauce over cake
- Refrigerate for one hour before serving
Pro tip: Ensure holes are evenly spaced for perfect chocolate distribution!
Tips for Perfect Chocolate Poke Cake Success
Making a memorable chocolate poke cake is more than just a recipe. Learn these expert tips to take your dessert from good to amazing.
Selecting the Best Chocolate for Baking
Choosing the right chocolate is key for a great poke cake. Not all chocolates are the same for baking. For the best, pick dark chocolate with at least 60% cocoa.
- Use premium chocolate brands like Ghirardelli or Valrhona
- Avoid chocolate chips, which contain stabilizers
- Choose chocolate bars that melt smoothly
Mastering Cake Poking Methods
How you poke the cake is crucial for its texture and flavor. The right tools and method make your cake moist and rich.
- Use the handle of a wooden spoon for precise holes
- Create holes about 1 inch apart
- Poke holes while the cake is still warm
Dessert Storage Tips
Storing your cake right keeps it tasting great. Follow these tips to keep your cake fresh and tasty.
- Store in an airtight container
- Refrigerate for up to 5 days
- Cover with plastic wrap to prevent drying
Pro tip: Let the cake come to room temperature before serving for the best flavor and texture.
Conclusion
Making chocolate desserts is easy with this amazing poke cake recipe. It turns simple baking into a special treat for the whole family. It’s perfect for both new and experienced bakers.
This cake is easy to make and can be customized in many ways. You can use different chocolates or add your favorite toppings. It’s great for family gatherings or weekend treats.
Start baking and share your creations with loved ones. Try new things and enjoy every step of making this chocolate cake. Your kitchen will become a place of sweet memories and tasty treats.
Great desserts do more than just taste good. They bring people together and make everyone happy. So, get ready to bake and make some unforgettable chocolate magic!

